Welcome to my first blog where I will start explaining how to create a simple website that uses EPiServer 7.5 as CMS. In the next tutorials I will extend the functionality of the website and I will dive deeper in more advance topics related to EPiServer. I assume that you have basic knowledge about the CMS itself. In other words that you know how to work with the CMS itself.
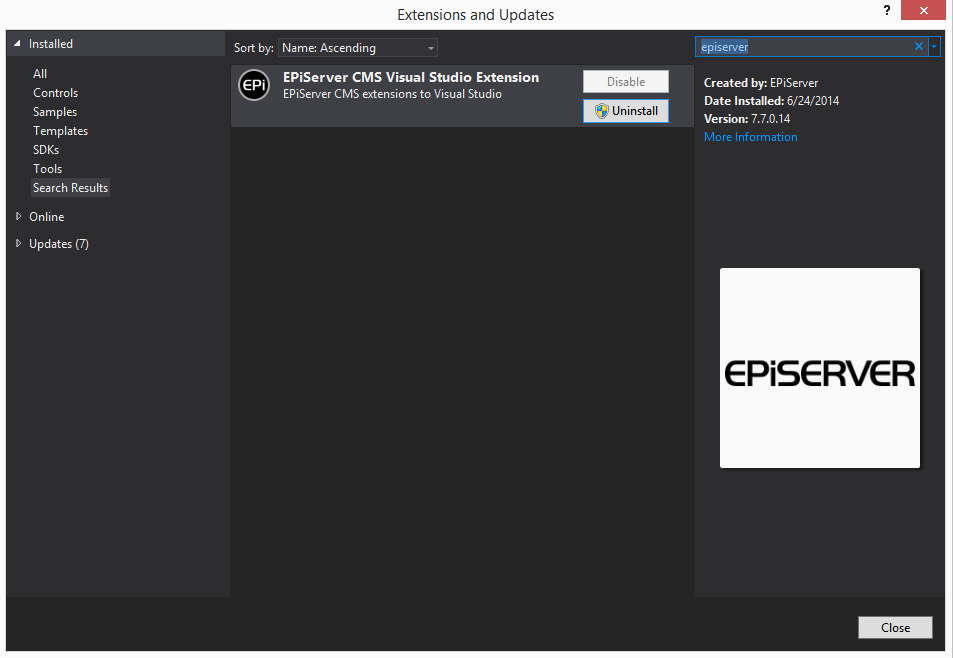
First of all open Visual Studio and make sure that EPiServer Extension is installed. If not install it from Tools->Extensions and Updates.
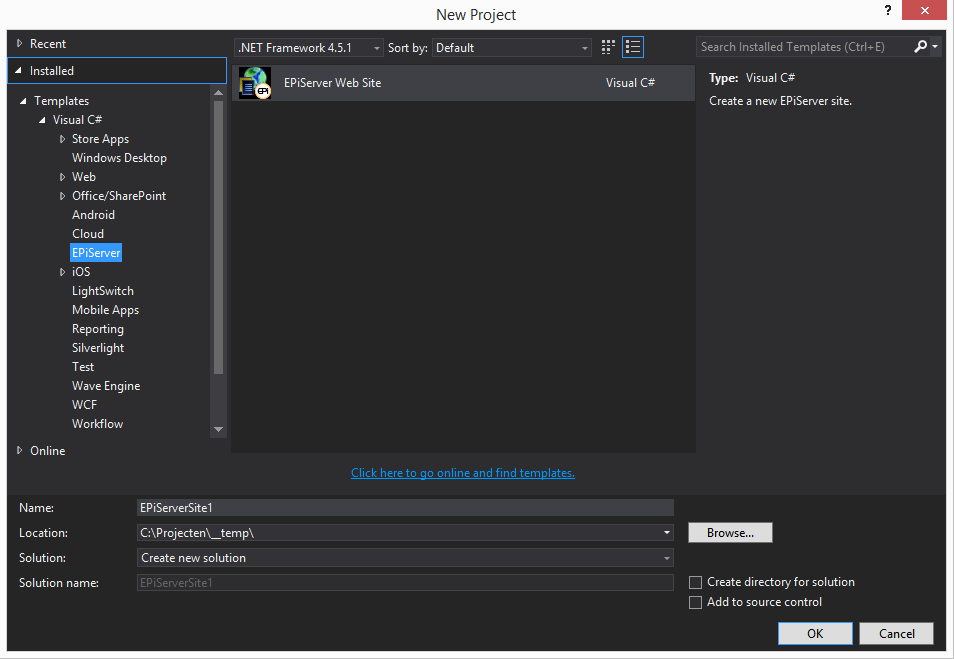
Next create a new project and choose as Template for EPiServer Web Site.
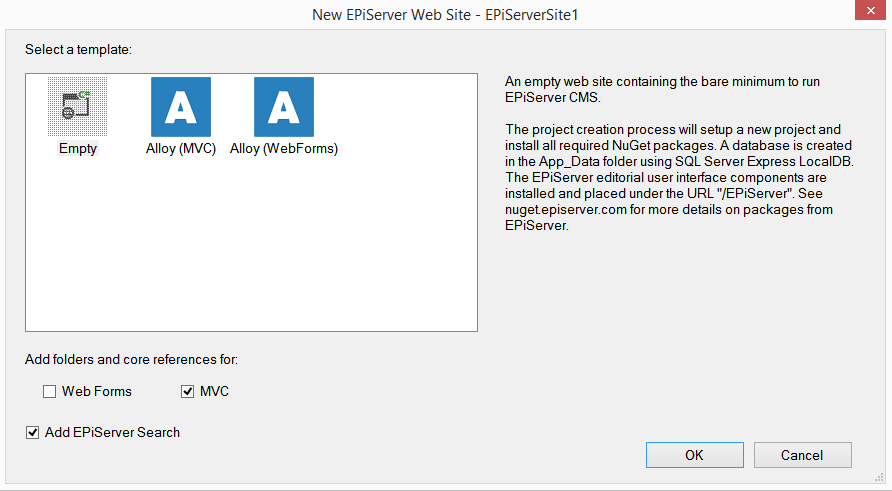
In the next window choose for Empty template and check MVC and Add EPiServer Search.
Thats it! Press OK and a new EPiServer project is created for you. Now build the project and press RUN and you will end up with a HTTP 404 error:

This is normal because remember you created an EMPTY project. So there is no startpage yet. Lets go to the CMS by typing /episerver behind the URL in the browser. A login screen is presented. Type in your windows credentials to login. You cannot create anything yet because we didnt create any page templates yet. We will do that in the next tutorial.
Configuring IIS to run your project continuesly
Notice that as soon as your terminate the debug session in Visual Studio that site doesnt work anymore. This can be really annoying when developing for EPiServer. So lets configure IIS so that the website keeps running even when we terminate debugging.
Open Internet Information Service (IIS) Manager.
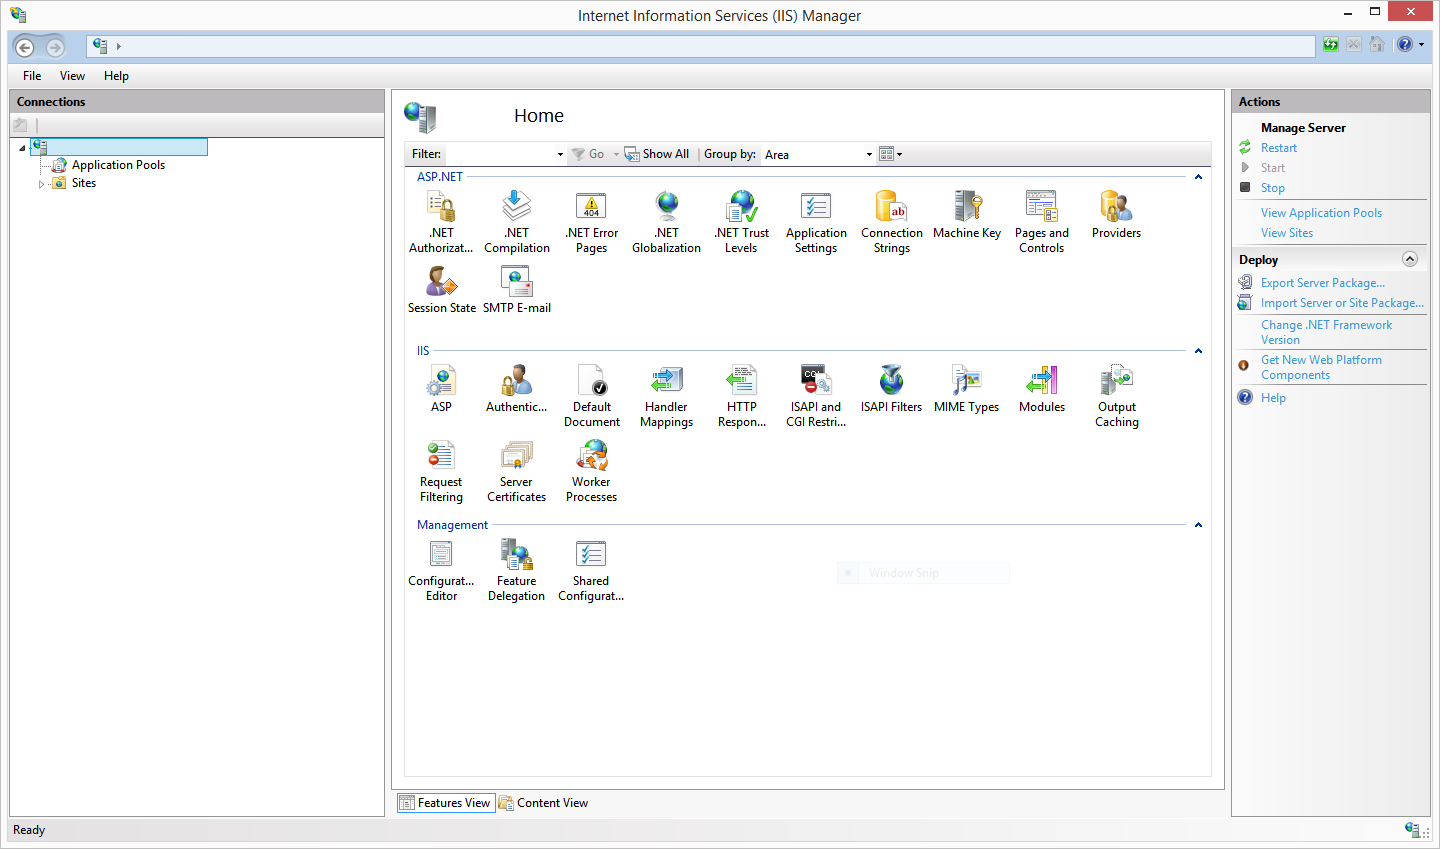
Right-click on Sites and choose Add Website.
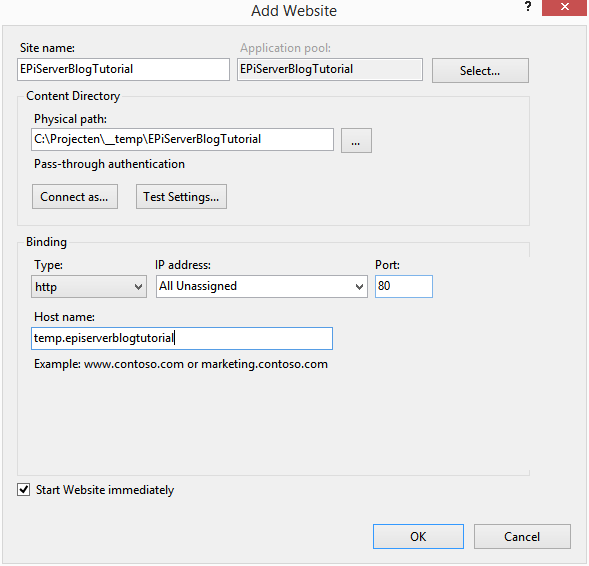
Make sure that the Physical path points to the root directory of your EPiServer project. Next press OK and wait for IIS to create the website. Now adjust your host file and add an entry like
127.0.0.1 temp.episerverblogtutorial
Your host file on windows 7 and 8 is located at c:\windows\System32\Drivers\etc
Now open your favorite webbrowser and navigate to http://temp.episerverblogtutorial. Make sure that you have build your project at least once! After a while loading you get the following error:

A network-related or instance-specific error occurred while establishing a connection to SQL Server
You get this error because IIS cannot access the local database that visual studio is using. This database can only be accessed when the project is running in visual studio. The idea is to make the project run independently from Visual Studio. So lets configure a different database for EPiServer to use.
Open the web.config file in the root of your project and find the section about connection strings. It probably looks like this now:
|
1 2 3 |
<connectionStrings> <add name="EPiServerDB" connectionString="Data Source=(LocalDb)\v11.0;AttachDbFilename=|DataDirectory|EPiServerDB_1d7d6a00.mdf;Initial Catalog=EPiServerDB_1d7d6a00;Connection Timeout=60;Integrated Security=True;MultipleActiveResultSets=True" providerName="System.Data.SqlClient" /> </connectionStrings> |
More information about connection strings can be found here:
https://www.connectionstrings.com/sql-server-2012/
Instead of using a LocalDb lets connect it to Microsoft SQL server (2012) that runs as an independent service on the background. Open Microsoft SQL Server Management Studio and login on your server:

Microsoft SQL Server 2012 login screen
Next we are going to attach the existing database that EPiServer already created to SQL Server. If you look in your APP_DATA folder you see a file like EPiServerDB_1d7d6a00.mdf or something similar. Now right-click on Databases and select Attach.
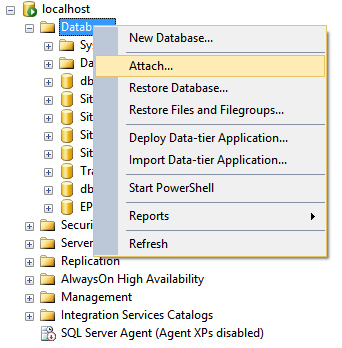
Import MDF database file in SQL server
In the next window select you MDF file and press OK.
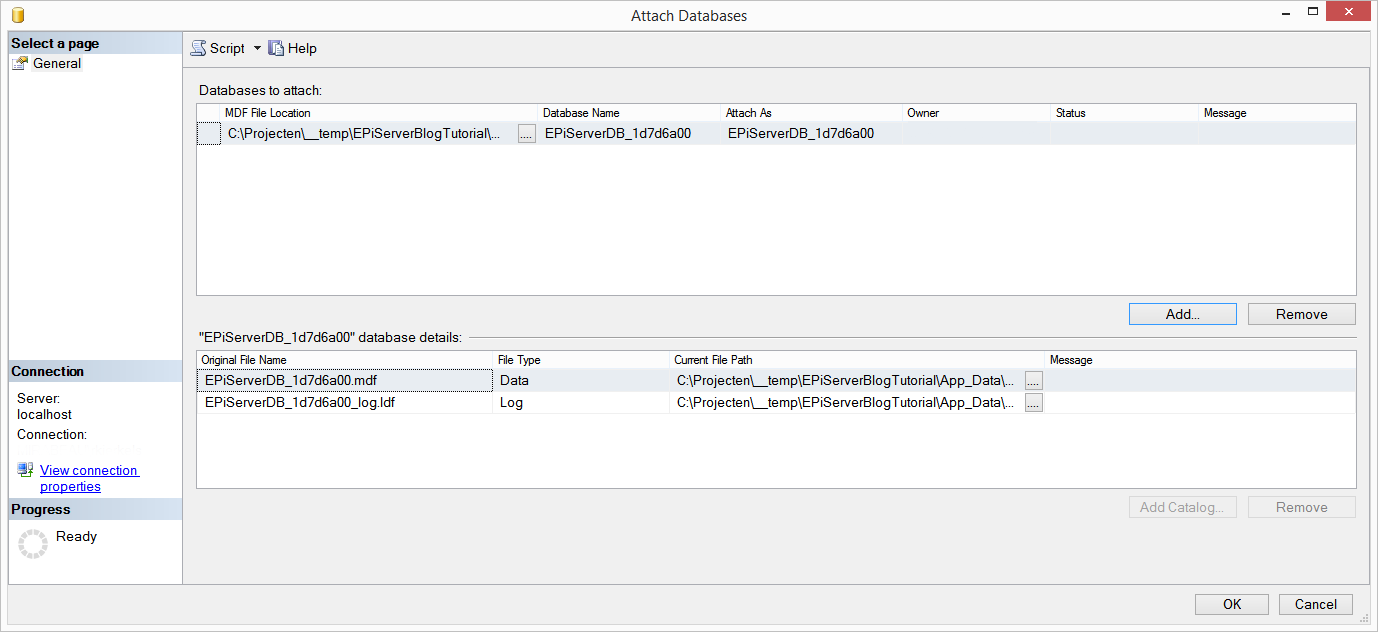
Attach MDF file to SQL database
If you get an error here about privileges try to copy your .mdf and .ldf file to a different folder and grant all users full access to this folder and the files.
We also need a new SQL user for this database so lets create one.
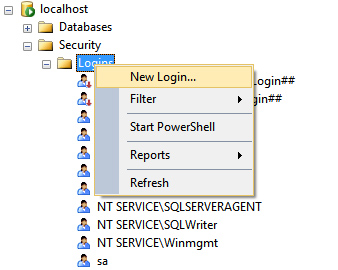
Create new SQL server login
Next create a user and make sure you set the proper mapping.
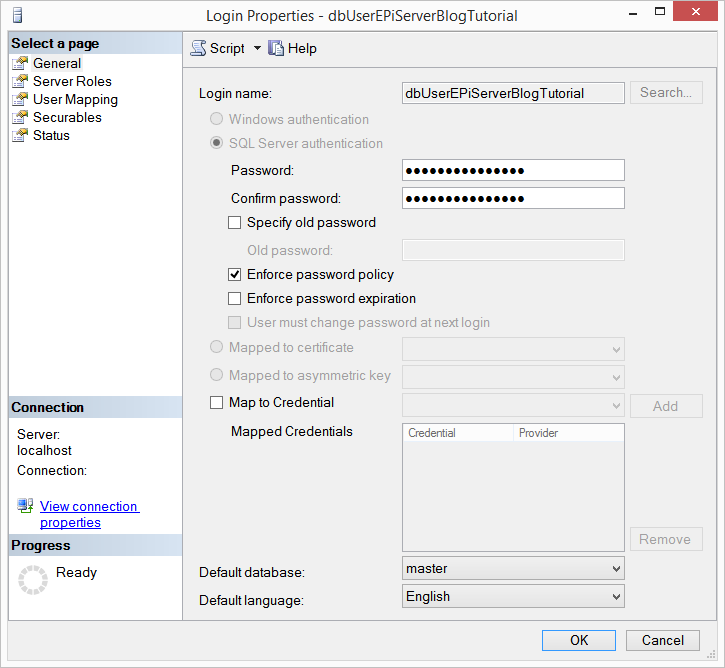
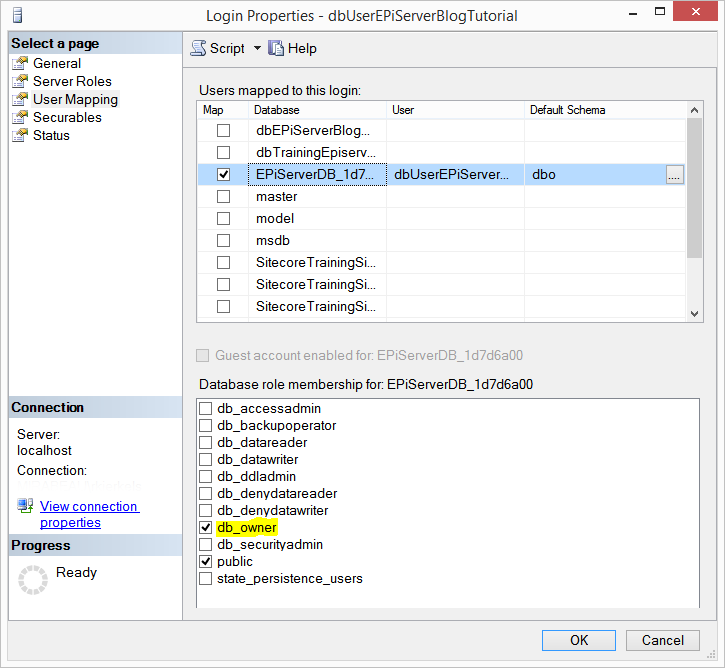
Set SQL User privileges
Thats it. Now this user should have access to our newly created database. Lets update the connectionstring in our web.config.
|
1 2 3 |
<connectionStrings> <add name="EPiServerDB" connectionString="Data Source=localhost;Initial Catalog=EPiServerDB_1d7d6a00;Integrated Security=False;User ID=dbUserEPiServerBlogTutorial;Password=episerver1234;MultipleActiveResultSets=True" providerName="System.Data.SqlClient" /> </connectionStrings> |
Lets rebuild your project and refresh the website. Now everything should work again as before. We are ready now for creating our first pages and blocks.
It might be a good idea to update your EPiServer modules from the NUGET package manager before continuing. New features could have been added and security issues might be resolved.